

XState in Solid
How to use the best state machine library in Solid
The more I play with Solid, the more I find its abstraction incredibly fascinating. I think it might be as revolutionary as React's "just render everything every time and diff the DOMs" approach was back in 2013. In my own words as a total n00b:
When you write your JSX with conditionals and props that are signals, Solid is able to notice exactly which pieces of your UI depend on which signal value, and can rerender only that dependent UI when the signal value changes.
When I wrote my Proof of Concept using an external
state management system with Solid, I realized that I had to communicate via
signals, i.e. I had to keep the state I wanted to use in the UI in a signal.
This is vaguely analogous to how the way to force a React component to
rerender is to change some part of its state with setState().
One important difference in Solid, when coming from React, is realizing that your "render function" (the component body itself) is ONLY CALLED ONCE on first render. All UI updates are dependent on signal changes from inside the JSX.
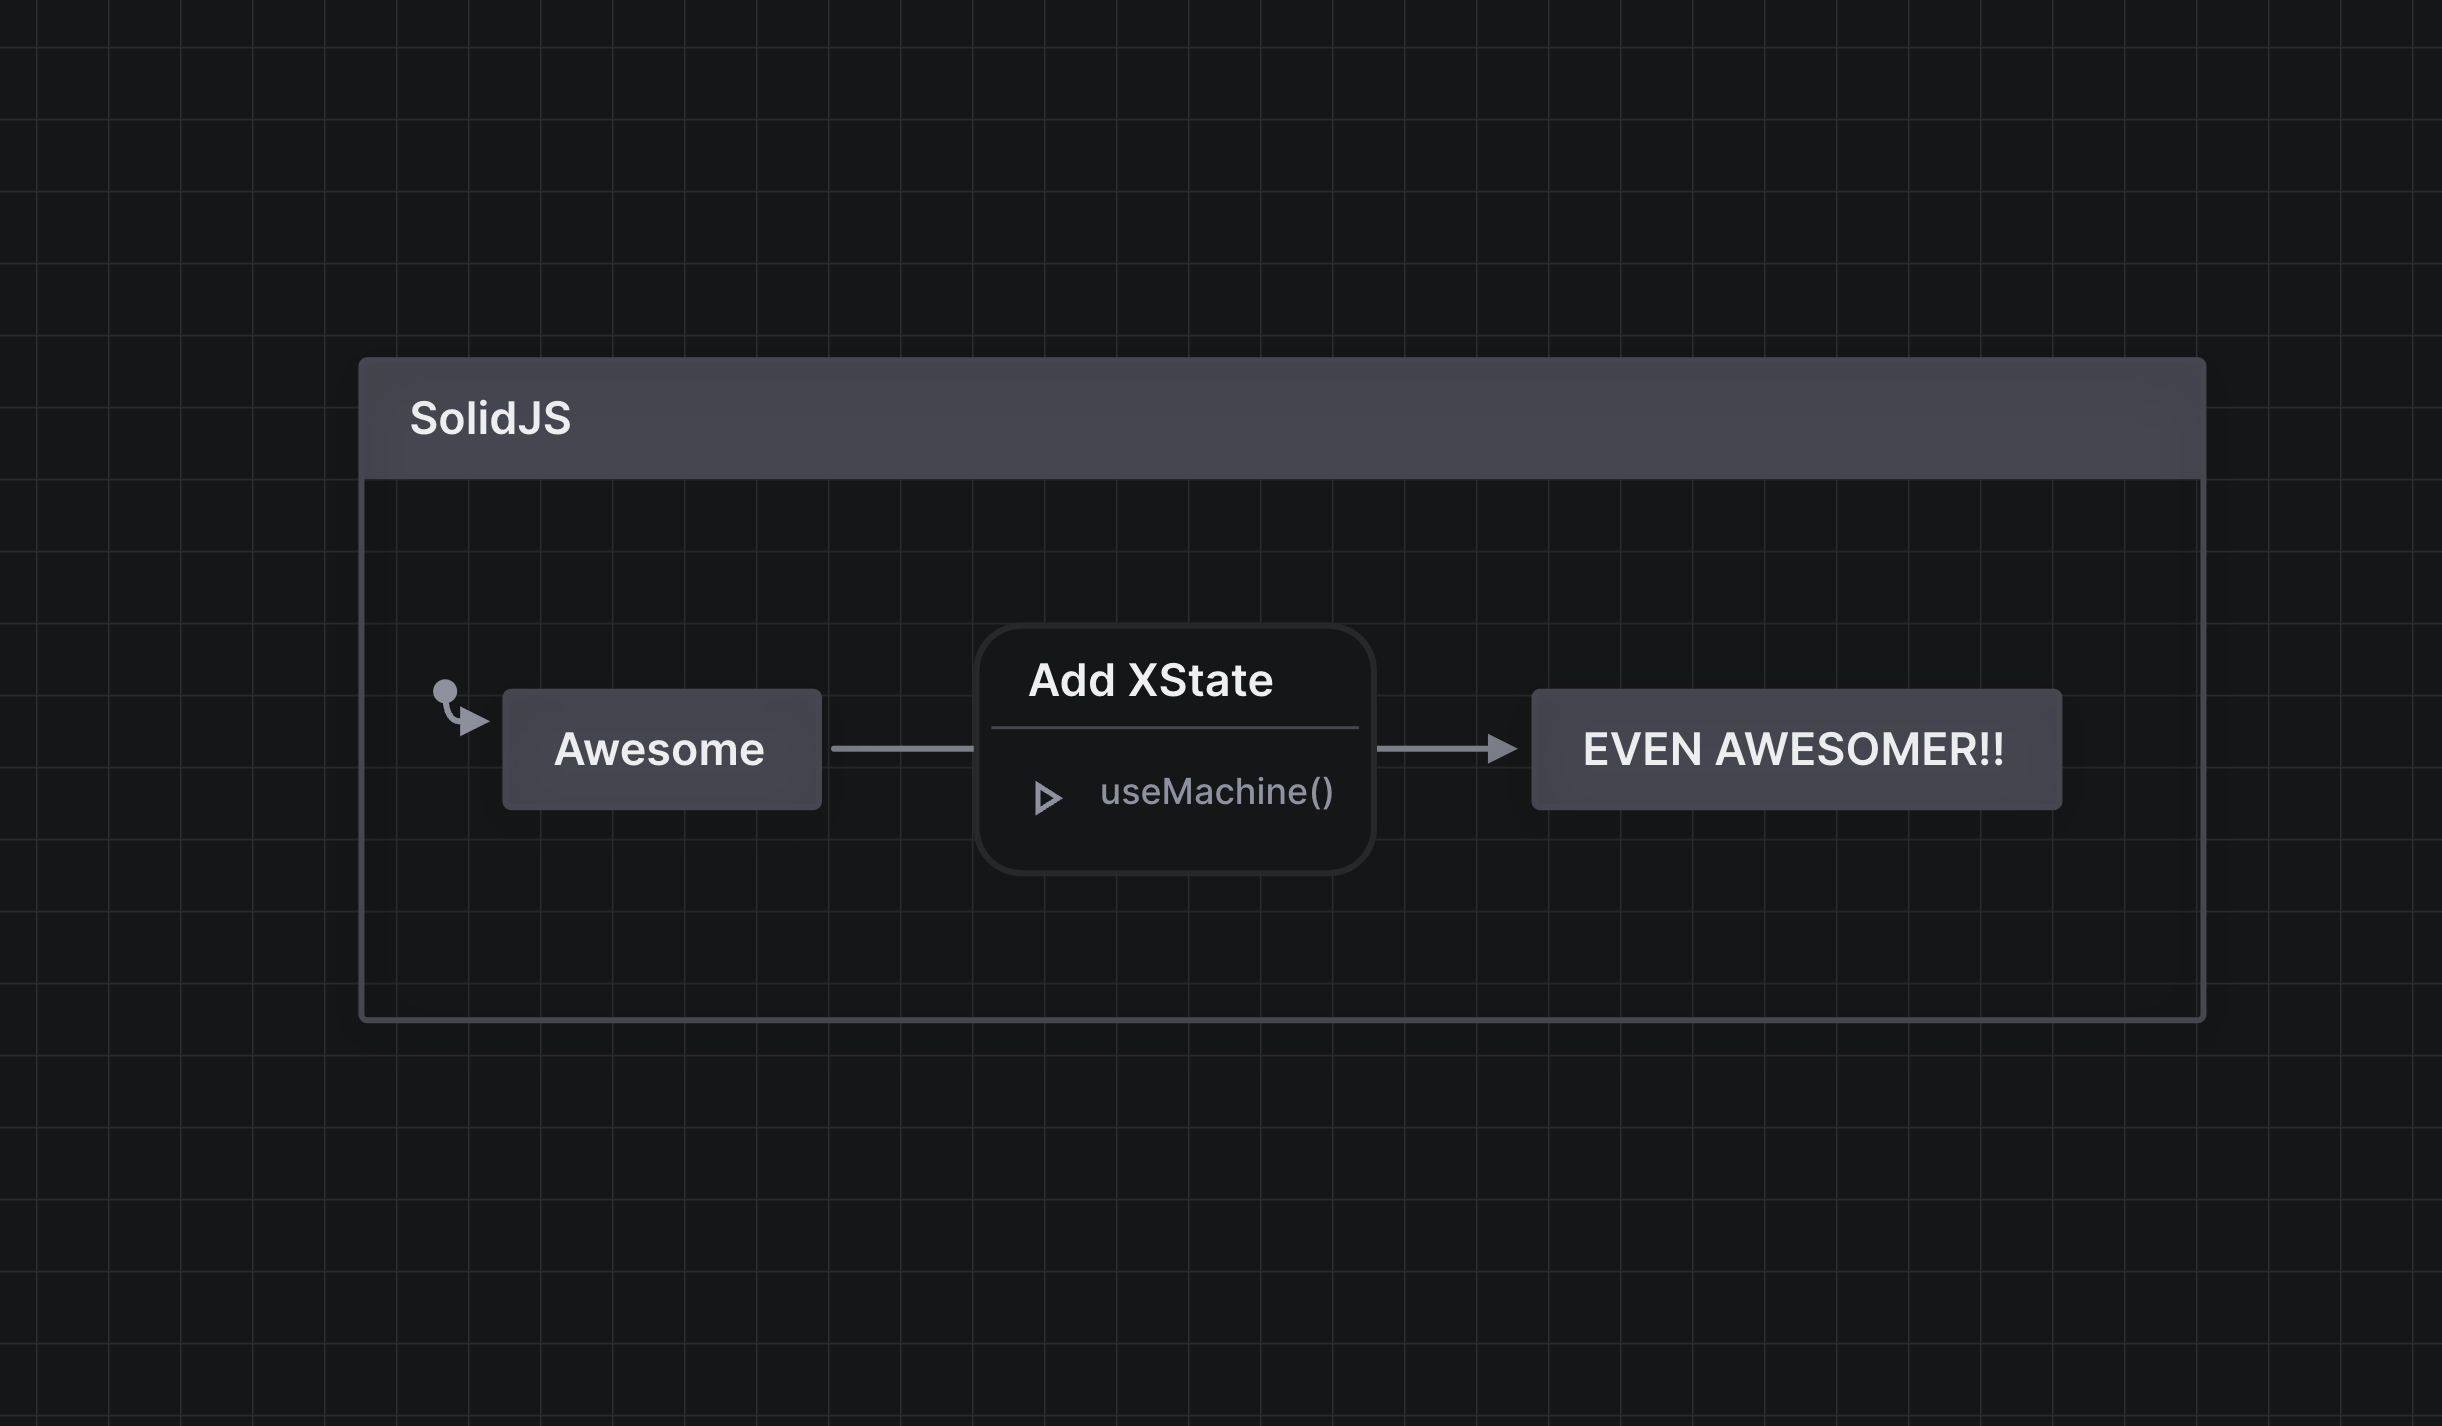
So let's try and plug my favorite framework agnostic state management library into Solid!
XState
The way you use XState is that you create a machine definition of your finite
state machine, and then you "boot up an instance" of that machine using
interpret(), which gives you a "service". Once you .start() your service,
you can .send() events to it, and generally observe it via listeners or
grabbing a snapshot of the state of the service at any given time.
select
The primary way that you can subscribe to one particular slice of the machine's "context" (where it stores data) is via a "selector", very much like Redux.
matches
The way you determine what state the machine is in is with a .matches()
function. From
the XState docs:
The
state.matches(parentStateValue)method determines whether the current state.value is a subset of the givenparentStateValue. The method determines if the parent state value “matches” the state value. For example, assuming the currentstate.valueis{ red: 'stop' }:state.matches("red"); // => truestate.matches("red.stop"); // => truestate.matches({ red: "stop" }); // => truestate.matches("green"); // => false
can
A predicate that tells you if you "can" send a given event – i.e. that the machine is currently listening for that event.
Quoth the docs:
The
state.can(event)method determines whether aneventwill cause a state change if sent to the interpreted machine. The method will returntrueif the state will change due to the event being sent; otherwise the method will returnfalse.
This is especially useful for visually disabling buttons that don't do anything right now.
send
A state machine isn't much good if you can't send events to it, so we're going
to need to expose the .send() function as well.
useMachine()
I've written a hook function called useMachine() that takes a state
machine definition and then exposes the above API to be consumed in Solid.
can, and matches use signals internally, and select returns the actual
signal to the data selected. Remember that we must use signals if we want Solid
to rerender parts of our UI.
Oh, and it's all strongly typed AF.
This is what it looks like to consume:
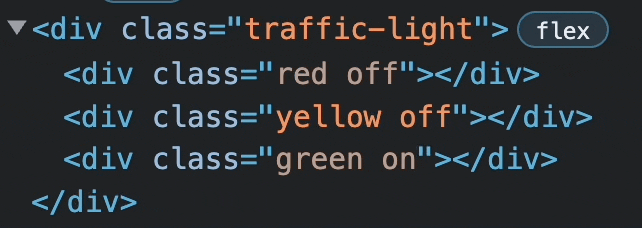
import { Component, Match, Switch } from "solid-js";import { useMachine } from "./useMachine";import { trafficMachine } from "./trafficMachine";import "./App.css";export const App: Component = () => {const { can, matches, select, send } = useMachine(trafficMachine);const cycles = select((s) => s.context.cycles); // defines a signal on first renderreturn (<div class="app"><div><div>Cycles: {cycles()}</div><button onClick={() => send("Reset")}>Reset</button></div><div><Switch><Match when={matches("Stopped")}><div>Stopped</div><button disabled={!can("Start")} onClick={() => send("Start")}>Start</button></Match><Match when={matches("Started")}><div>Started</div><button disabled={!can("Stop")} onClick={() => send("Stop")}>Stop</button></Match></Switch></div><div><div class="traffic-light"><div class={`red ${matches("Started.Red") ? "on" : "off"}`} /><div class={`yellow ${matches("Started.Yellow") ? "on" : "off"}`} /><div class={`green ${matches("Started.Green") ? "on" : "off"}`} /></div></div></div>);};
State Chart
Just a humble traffic light that counts how many times it's gone through Red.
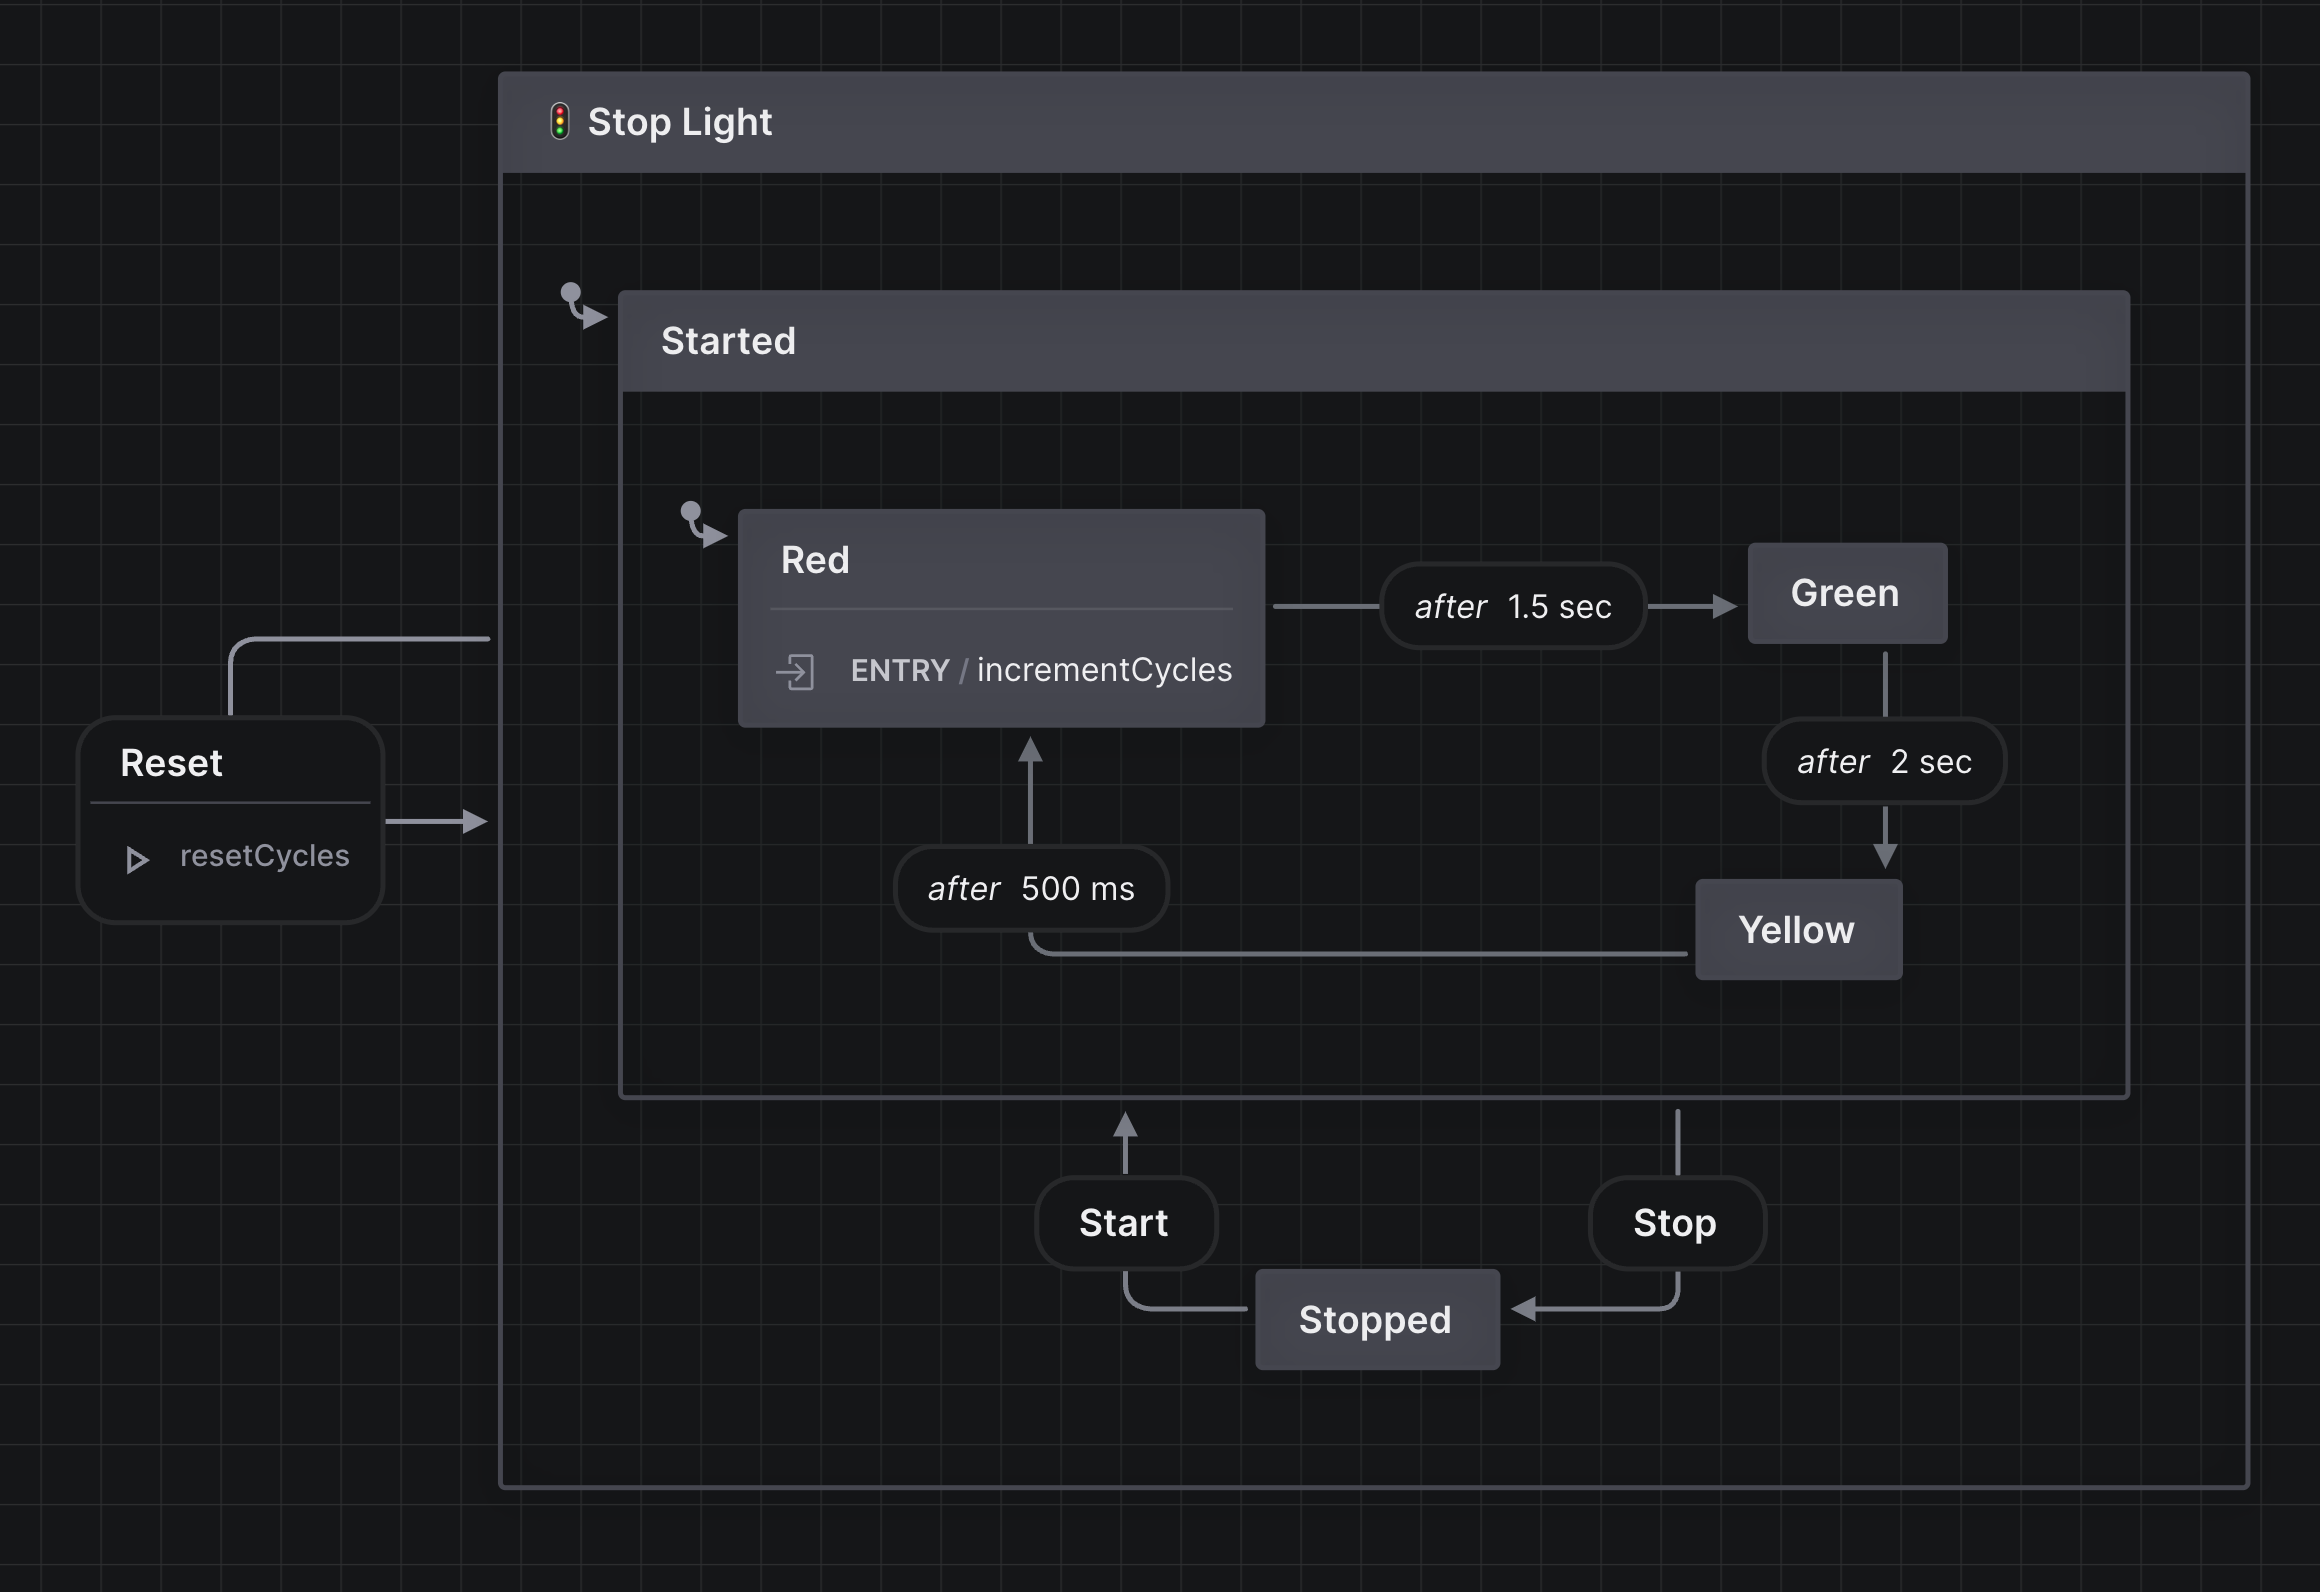
Demo
Click "Open Sandbox" to dig into the actual useMachine() code.
If you inspect the DOM, you'll see that only the nodes that need to change are changing.
Conclusion
This was mostly a learning exercise for me. I'd be happy to contribute this code
to initiate an official @xstate/solid library. The Stately people, that
maintain XState, know how to contact me.
Thanks for reading, and I hope you learned something.